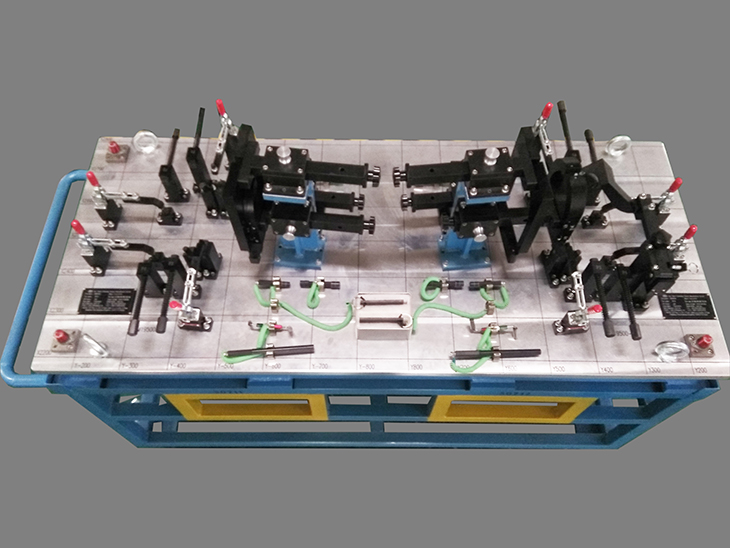
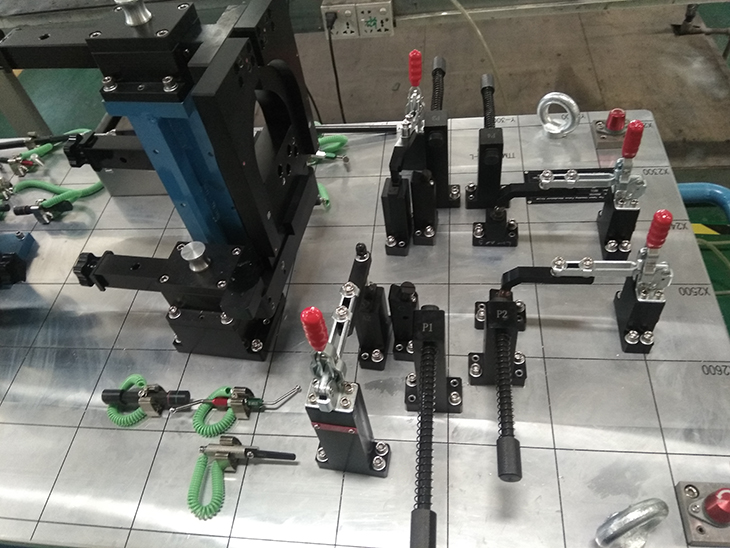
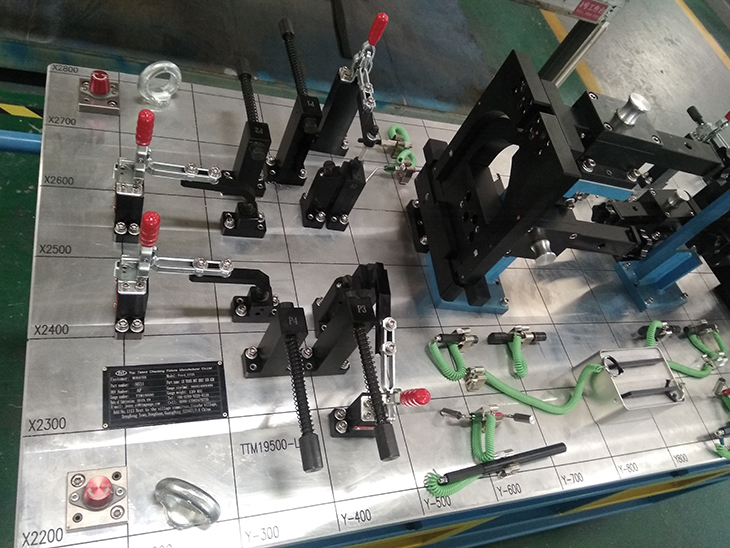
TTM19500 Common measuring bracket checking fixture has high measurement accuracy, no fear of deformation, low maintenance cost and good convenience. Key product characteristic inspection, characteristic line inspection, function hole inspection, area detection which is prone to deformation in assembly process, for automobile assembly and production function matching inspection. In the production process of automotive parts, on-line inspection of automotive parts is realized, which ensures the rapid judgment of the quality status of automotive parts in production, ensures the safety and processing speed of automotive assembly, and improves the quality of automotive parts.


FIXTURE or GAUGE OPERATING INSTRUCTIONS
1.LOAD PART INTO THE FIXTURE, FOLOWING DATUM SCHEME,AND CORRECT PART ORIENTATION.
2.CLAMP PART ACCORDING TO CLAMPING SEQUENCE.
3.CHECK MATING SURFACES USING
Put the slider 1 and template on un-work status , put the slider 2,3 on work status , use FEELER-B to check the trimming gap on zone 1-2、3-4、5-6 of part ;
Put slider 2,3 on un-work status, put the slider 1 and template on working status use FEELER-A to check surface profile in zone 1-2、3-4、5-6 of part , and the surface profile under the template .
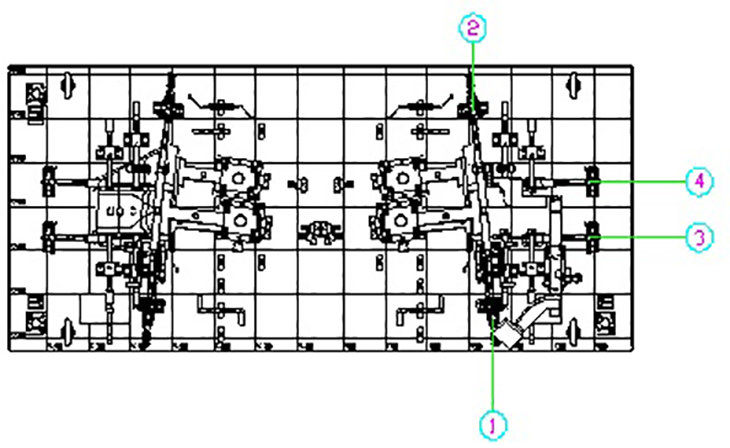
4.Feeler check:close clamp A1-A3,open clampA4,use feeler with 2mm to check the surface profile in A4 area of part . See right picture .
5.REMOVE PART AND CHECK HOLES INDICATED WITH GO NOGO GAGES;
Coaxiality detection.
