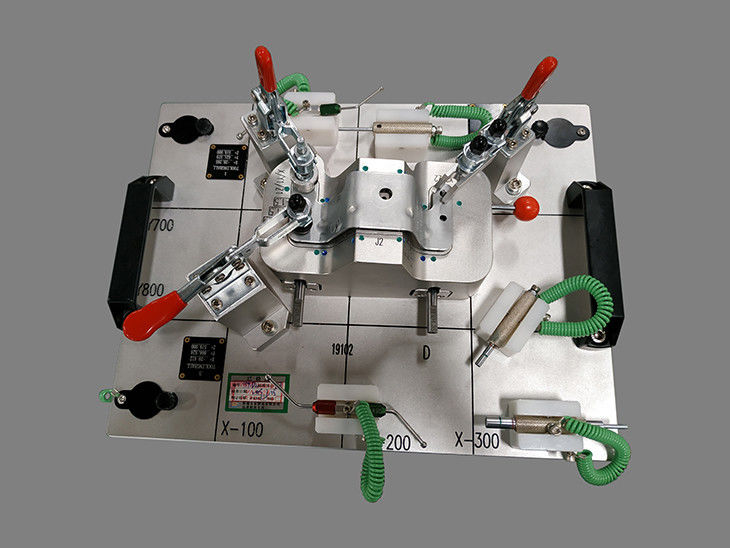
TTM19102 checking fixture has high measurement accuracy, no fear of deformation, low maintenance cost and good convenience. Key product characteristic inspection, characteristic line inspection, function hole inspection, area detection which is prone to deformation in assembly process, for automobile assembly and production function matching inspection. In the production process of automotive parts, on-line inspection of automotive parts is realized, which ensures the rapid judgment of the quality status of automotive parts in production, ensures the safety and processing speed of automotive assembly, and improves the quality of automotive parts.


operation sequence
1.Visual inspection to check part sharp edges ,cracks and burrs.
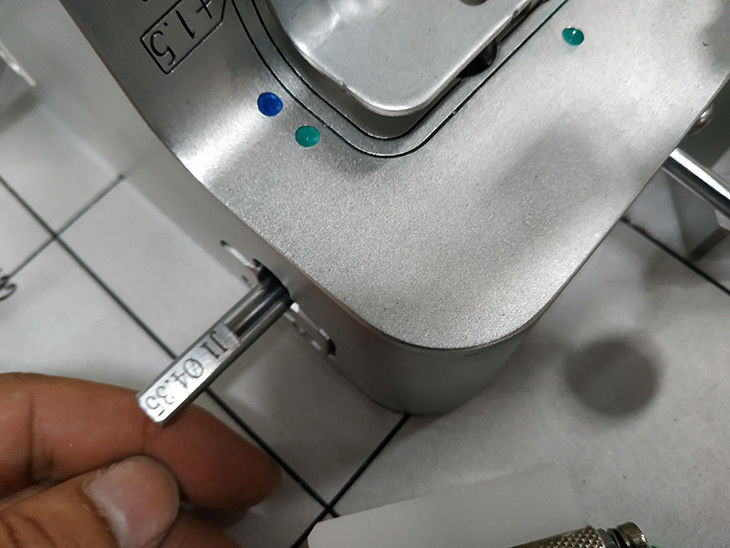
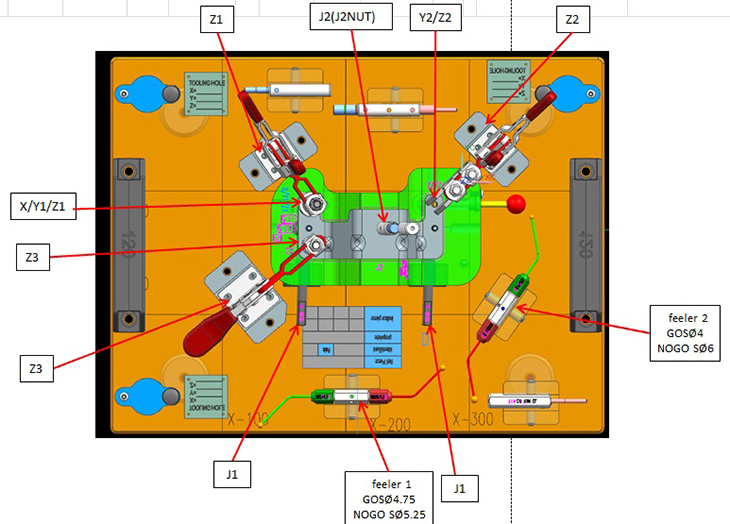
2.Using J1/XY1/Y2 AND J2 GO NOGO pin to check the size of holes.
3.Open the clamp,load the part on the body.
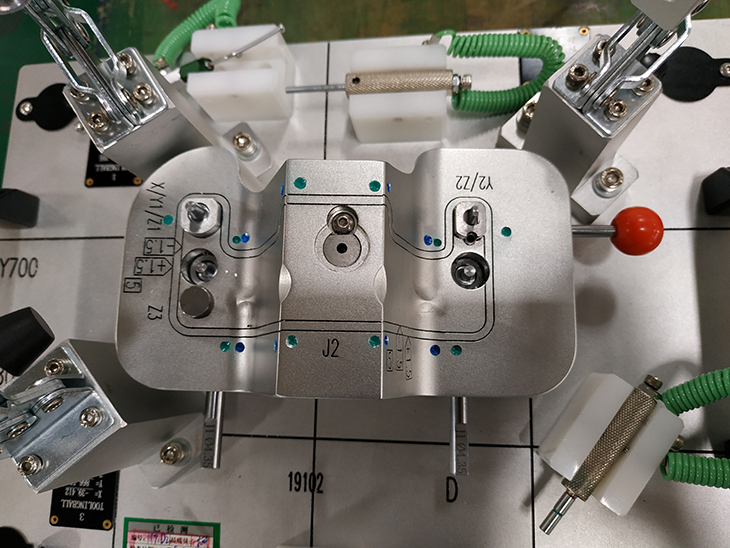
4.Adjusting the part keep it well contact nets and lacat it with X/Y1/Z1 and Y2/Z2.
5.Close clamp Z1,Z2,Z3.
6.using the J1-J2pins to check the hole position.
7.using the feeler:1 GOSØ4.75NOGO SØ5.25;2 GOSØ4NOGO SØ6, to check surface of the part.
8. Visually detect the edge of the material, it is qualified within +/-1.5 lines, and vice versa.
9.Recording results on the inspection sheet.
10.Unclamping and removing part.
